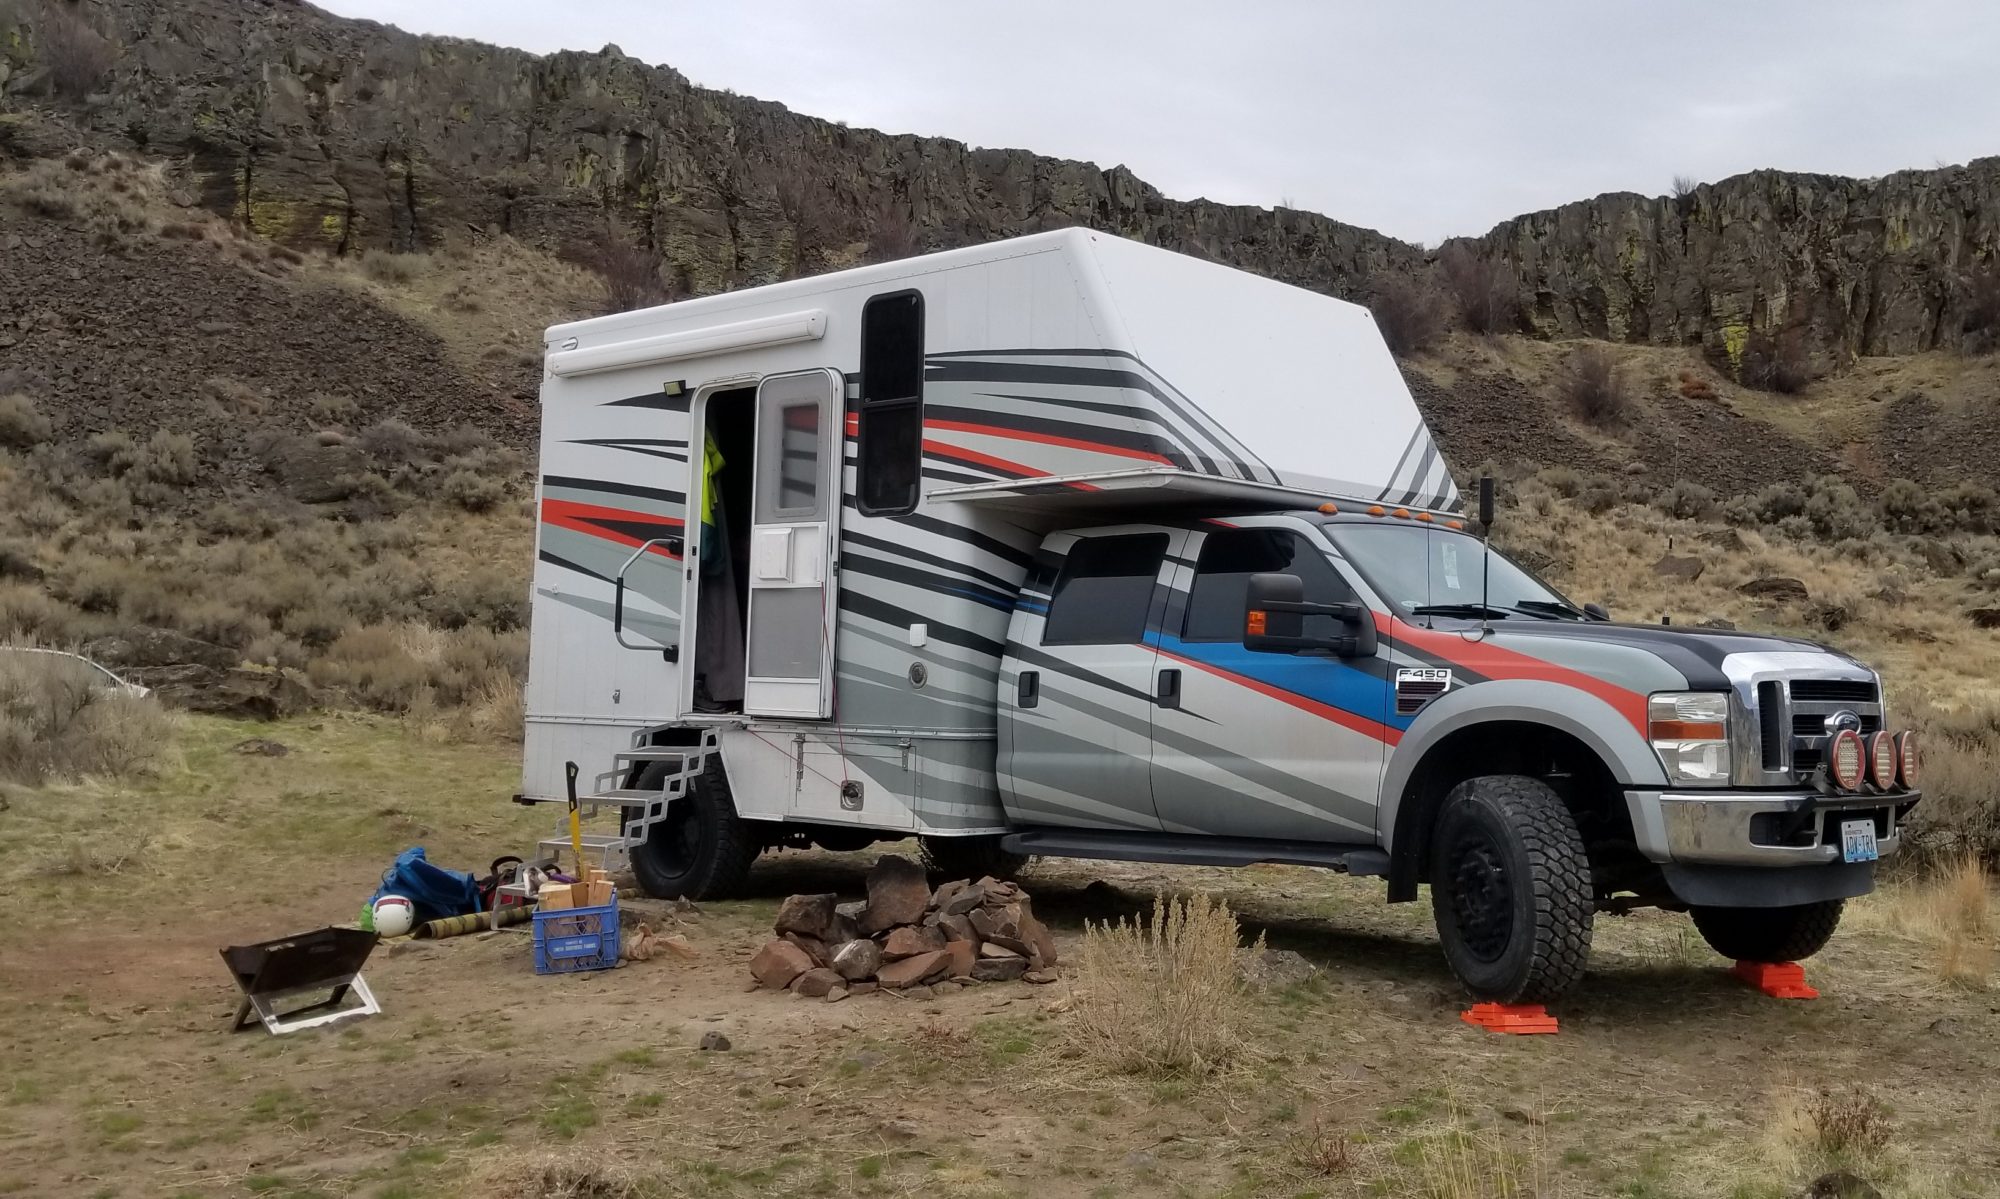
Now that its insulated we can start building the interior! Its been a lot of work to get here, but there is so much more to go.
For the interior walls we are using a 1/4″ plywood, its prefinished birch. Reasonably cheap, just cut and install, not finishing needed. Its not the lightest, but works well. To install I used more construction adhesive (i think there are 9 quart tubes behind the walls and ceiling!) and micro pin nails. I’m happily surprised the nails hold really well.

I started with the easy square one…. Good practice anyway! I will come back and cut the windows from the outside with a router, this way the inside and outside holes match perfectly.

All these were cut with my old skill saw and a jog saw. Nothing fancy. I did my best to break the panels on windows, that way there were no seams running right net to them.


With the sides done we can install the windows. Ran into some issues here. I should have used a wood strip around the windows, not just the foam, this would have kept the correct wall thickness. I ended up having to shim the interior plywood out to make the walls the required 2″ for the windows to clamp too.

But with the windows in we are starting to get somewhere!


Windows were a big step. Tons more light and feels way more open. Ceiling goes in next.
I made a quick time lapse of the weekends work. There are some previews of what’s to com in the next post as well.

You are doing a great build. I have just one observation based on the time I have lived in our TT. Windows that hinge along the top are a lot more useful than sliders, especially in light rain. Mine are left open nearly all the time, rain or shine unless it is very windy. But the ones that are sliding mechanisms have to be shut at the slightest hint of rain, unless they are under the awning. I wish I could change a couple of our trailer Windows for this reason – one fixed and one slider.
Keep up the good work.
Thank you! That would have been a good consideration. I didn’t even think of it, that’s what happens when your doing this the first time I guess! I did get roof vents that can be left open in the rain.