Air Bag Front Coil Replacement

In a quest for better ride, I have decided to ditch the front coils and go with a Kelderman air bag front end. This kit replaces the coil springs with an air bag, this gives infinite adjustment for load/weight and a supposed better ride.

Kelderman Kit

The first hurdle is how to get the entire front end of the truck off the ground on a gravel driveway….. I have 6200lbs on my front axle, not a crazy amount, but enough to drive the wheels of my jack through a piece of 3/4″ plywood…. Trying again with no wood works, but now the jackstand has sunk. Eventually with some grading of my gravel driveway, two jacks and some jackstands and the front end is ready for work.

Wheels off.

Next up, lower one of the jacks so the spring bits can be removed. Springs and the lower coil buckets are taken off. I hit a surface little rust with some zinc rust paint.

Out with the old.
Discarded parts

The upper bracket needs three holes drilled to hold it in place. The steel is thick and hard. Not a fun upside down drilling project, but take your time and its ok. If your doing this be very careful, there is a large wiring harness right above the upper area your drilling on both sides. Don’t hit it when you break through!

Brackets in place

The brackets simply bolt in place of the coil, and the airbag is bolted between them. One long bolt holds the air bag to the lower mount seen looking awkward above.

All together

All together with the air lines ran. I simply ran them up next to the battery on either side. Its just manual fill for now. I ended up around 80psi. You simply inflate the bags until they are 7.5-8.5″ tall. I went with 8″ which ends up about 1.5″ tall overall than stock.


At 80psi/8″ tall with the weight of the truck on it.


Front end of the truck is defiantly a little taller, the jury is still out on ride quality…. I need to play with pressures a bit. Overall no worse than before and 1.5″ taller.
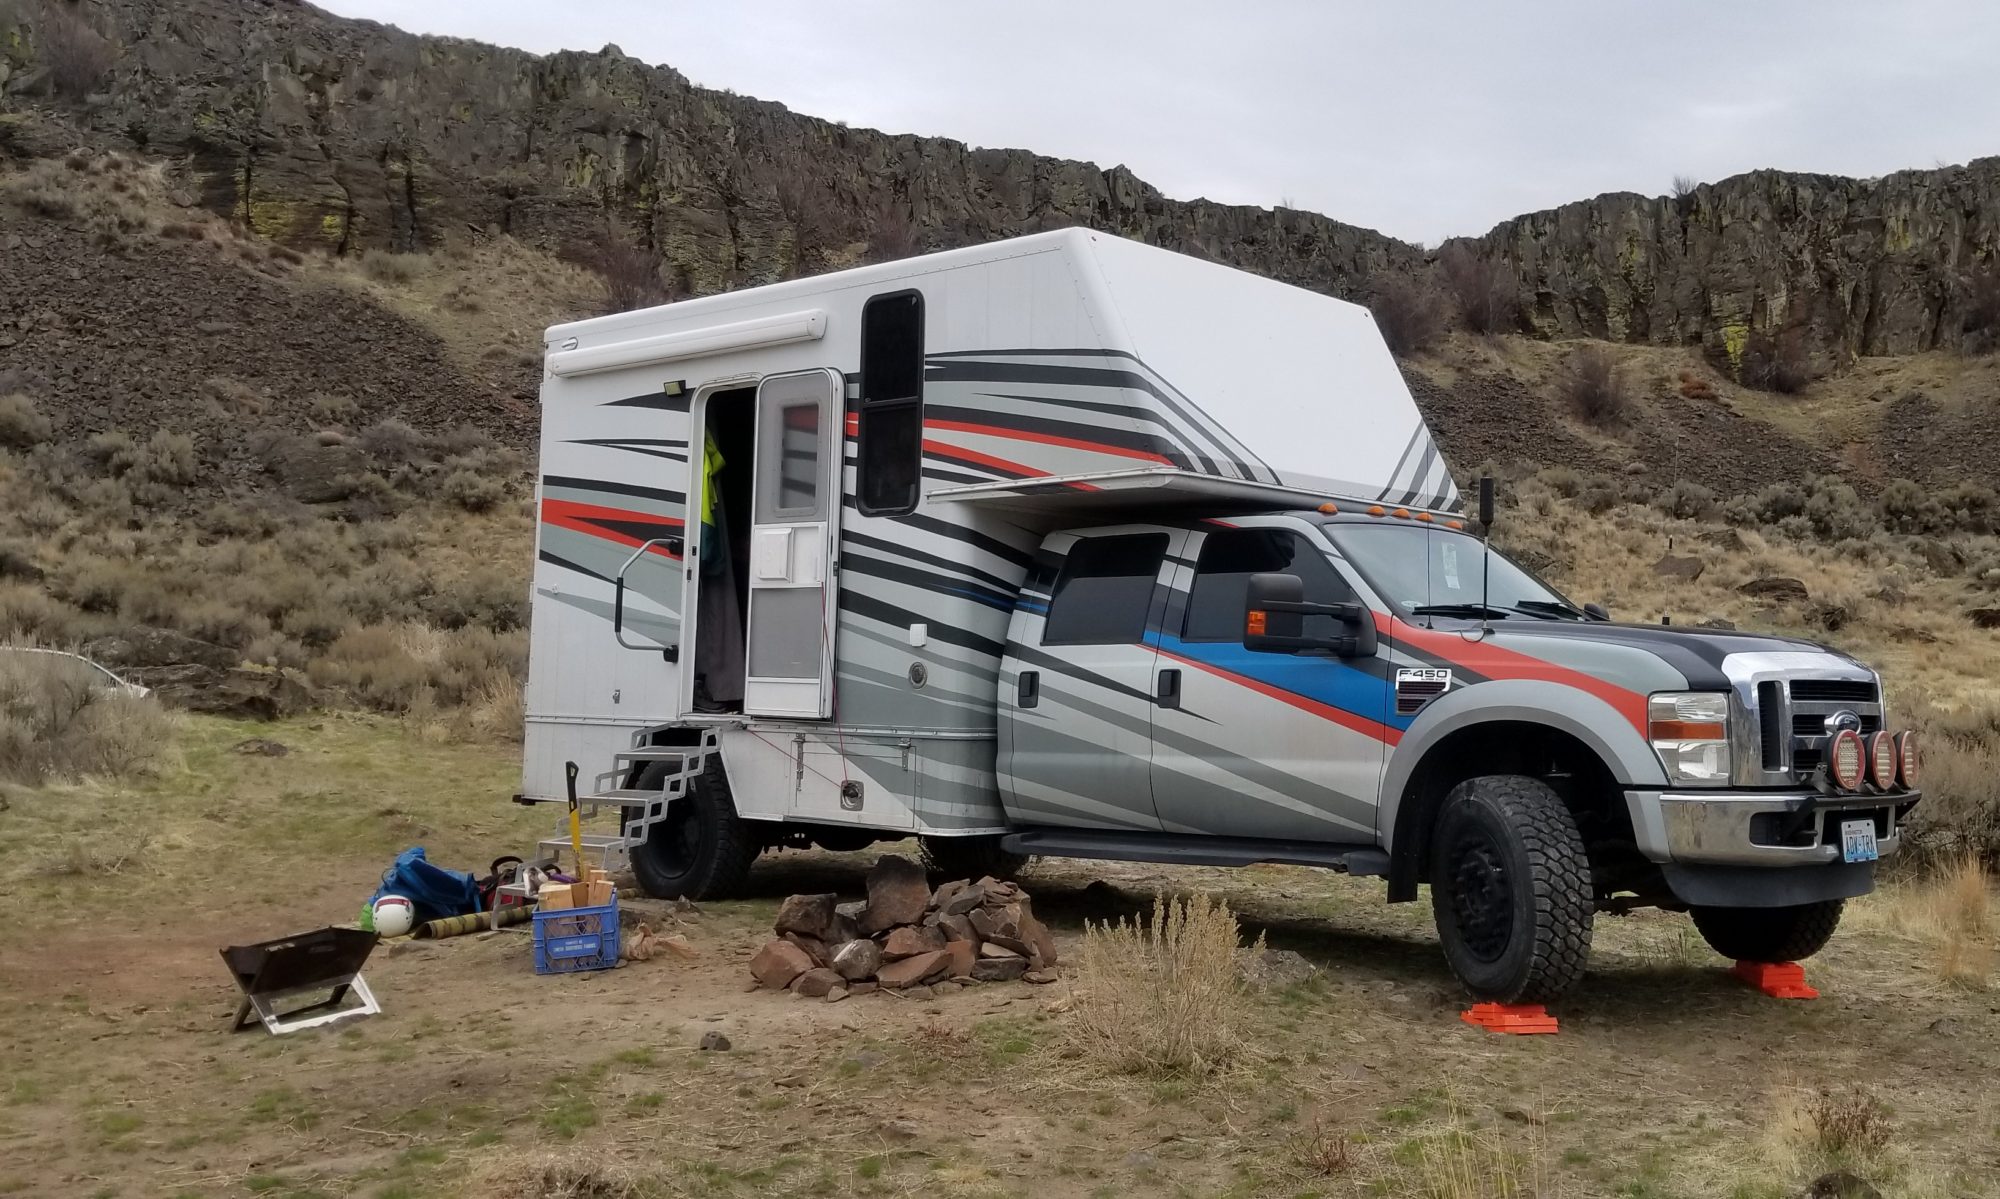
Climbing Trip!

Since winter is long gone now, climbing has taken over the summer activities. So its off to the desert we go in search of rocks!

Great free camping

First visit was Frenchman Coulee in Vantage WA. It gets hot, get up early! But there are a TON of routes, lots of bolted, some really tall too.

Climbing the pillars in Vantage
On the newly opened Hwy 20

Truck is super luxury climber camping…. Its really nice. We looped around across hwy 20 on the way home as it had just been opened. Great scenery.

Slab climbing in Pshastin

Truck is chugging along great, its had its oil changed, fuel filters changed and gets 10mpg. All the time.

More little projects – LED storage lights and a 12V compressor.

More little things have been getting done. Just little projects as I can fit them in. We have been using the truck a lot!

First I added LED strips under the bed. It was always dark trying to find things down there. Its bright now!

LED strips under the bed.

Made a new switch mount for the inverter and lights. Which somehow I have backwards…. Just remember on=off….

Inverter and light switches

Then I installed a 12v compressor. This is for being able to air up the bags, the tires as needed and blow up floaty toys etc. Its a 100% duty cycle Puma, with a small one gallon tank.

Strapped in place by the back door.

I wires it with marine tinned wire, and a resetable circuit breaker.

Breaker. Zip ties were trimmed!


Air Bags – Adding a Remote Fill

The rear axle has helper air bags, they are great for heavy trucks! I generally run about 70 psi in them, this helps keep the rear end higher, and also off the overload springs. Makes for a better ride with a heavy rear end.

Here you can see the overload springs are not touching the perches with air in the bags.

With ~60 psi in them.

And here is what it looks like with 0 psi in them.

Zero psi, look at the upper spring.

But when they were installed, the fillers (the air valve like your tires) were installed right on top of the air bags. This meant climbing under the truck and sitting by the rear axle to fill or even just check pressures.

Lazy installer’s filler location

The fittings used are quick connect, so I deflated the bags, and went to work taking the valves off. I used DOT 1/4″ air line to extend them back to the back bumper. Much nicer to be able to check pressures and fill now!

Fill valves above the trailer connection


Skifari 2018 – The Ultimate Ski Bum Road Trip

Skifari is a trip lead by a good friend of mine each year. We camp in a ski area parking lot, ski there during the day, then drive to the next one. Repeat for a week. It’s a great time and we had amazing  snow all trip this year! We had 10 people in 6 rigs. We started at Mt Baker, then headed to Sasquatch BC, followed by two days at Whistler.

Heading up to Baker after work for the first night got very interesting. It was dumping snow, and they had not run the upper area at all that day. 6-8″ of snow were on the road. Once we were ~1/2 a mile from the upper lot, we came across a small slide that was covering the road to a ski area. I stopped to see how deep and packed it was to see if we could cross. As soon as I got back in the car and touched the gas the truck followed the crown of the road sliding right into the snow bank. We were stuck, right in an avalanche Chute. I dug the side of the truck out and used the maxtrax under one front and one rear wheel. I was able to pull forward a bit, but it still was sliding along the snow bank. Luckily we were traveling with friends who were able to winch us back to the center of the road. But we were still slipping all over trying to move. I started to put on chains and a second slide released and hit the truck. Luckily we had a lookout watching the hill and took off running when it let go. Scary as hell bit we made it out ok minus a few buried tools…. We got very lucky that it was a small slide.

Stuck
Feverishly working to get out of the slide area

That’s all we got for pictures, we were working as fast as possible, and once the second slide let go I just hit  the gas back down the hill, one chain halfway on…


But we made it back down to the main lot and parked, it was almost midnight at that point. We had a tiny fire, a couple beers and crashed.

Baker had good snow, 10-12 ish inches overnight, pretty damn light, but not compared to the upcoming days.

Family ski day at Baker!

After skiing Baker we headed North, crossing the border up into BC and parking at Sasquatch mountain. Its a little 3 chair place, but there was no one there and the snow was the lightest fluffy pow you can imagine. It was great for the kid, she usually has trouble in pow, as shes ~55lbs, she just gets stopped, but it was so light she could keep moving relatively easily!

The whole Skifari gang parked at Sasquatch
Its going to be a good day.
Sasquatch Pow


Nice terrain for a little place

Next we headed to Whistler. Long drive day, but not too bad. There are always a couple on skifari. We stayed at the Riverside RV park. Whistler is VERY anti camping in their lots, so this was the next best thing. Close to the upper village and parking at blackcomb mid station worked awesome. We would roll out at 7 and have breakfast up there.

Parking lot lunch!
Whistler Camp site

Some fun trees at whistler.


A normal Skifari evening, a nice little fire, a few beers and great friends to chat with. Such a great time.

A Skifari evening


Great friends great snow, great trip.

New front shocks!

Time to replace the front shocks to match the rear. Over big whoops in the road the front end would bounce a little so they are getting tired. I went with Bilstien 5100’s just like the rear end.

Old Vs New

Getting them out wasn’t too bad, getting the new ones in was harder…. Trying to collapse them enough to fit and hold them with zip ties.

New and shiny

No its not rusty, its red grit that Oregon DOT spreads everywhere in the winter. it works well and is very grippy, but man it makes a red mess.


Not enough miles on it to report how they work yet, but I will update it after a few thousand miles.

Mt Bachelor

Let me start with Mt Bachelor is awesome for ski bumming! They park you right in front of the parking lot, close to the lifts, have a 24 hour bathroom, and showers! You have to pay for the showers, but still they are nice. Its $20 a night to stay there.


Parked right up front!

Ski conditions weren’t great, but we made the best of our time. Went to town, did some climbing and a day of tubing too. Bend is great for visiting lots of breweries!

Tubing! Can you see the big blue truck?

Freezing rain made for short evenings outside, and icy days of skiing, but its still better than working!

Icy tire in the morning.

The drive down and back was uneventful, I try to keep the truck at 68 or less. It will go faster, but 68 is ~2250 RPM’s, which is getting up there, and it sucks down more gas the faster you go.  Two passes past Mt Hood had some snow, but nothing terrible and we made the drive in a day.

Finishing off the back door.

I have been putting off trimming and skiing the back door for a while….. But now that its good and cold, the door and frame sweat, a lot.

So I got a dry day and got to work. First a layer of foam board was spray glued to the door. Its 1″ thick and R 5.

Insulation glued on.

Next layer was a sheet of 1/4″ ply glued to the insulation. The glue was supposed to be temporary, but it holding well so far, I may add a few screws later.

Plywood Skin

This left me with covering the metal frame that goes around the back door. Its steel, and goes all the way through to the outside, so its cold and it sweats. I look a couple of scraps of the 1″ foam and cut it down to 1/2″ thick. This was glued to the steel to create a thermal break. Plywood is not very insulating, so a gap between the wood and metal is needed.

Thermal Break insulation
1/2″ gap between ply and metal.

aNext I cut a piece of 1/2″ ply to cover the frame, and overlap the door. I am putting a gasket on it to keep the moisture vapor from getting behind it and sealing the space.

Gasket and overlap
Interior


All done

Really cleaned up the inside, its not just an aluminum door anymore. And no more dripping on the bed! That’s the last big wall piece that was left to do.

Little Projects

A couple little things have been done. I ordered some cushions online, they finally came in! They look great! They are 3″ thick, and Sunbrella outdoor fabric, made to my sizes. Glad I just had them made.

Dinette Cushions

Also put new marker light bulbs in the truck. One was out, and they always seem to follow each other so the others were probably close behind. I used some LED ones.

Marker Light’s new bulb

Also stopped by my local Air Harbor to pick up some Jet A, I am going to try running the furnace on it, it should be nearly the same kerosense. Much much cheaper, and you get to see the cool planes when they are filling you.


Kenmore Air

Camp puddle lights

I don’t generally like to leave the big bright porch light on, I know a lot of RV people do, but in the middle of nowhere when its really damn dark, that is too bright.

I wanted just a little light to help find the stairs, or just see a little light around the truck. So I came up with a plan. I bought some trailer marker lights, they are small LED’s 60 lumens ish, and mount in a 3/4″ hole. This was important, the flange around the bottom on the box is ~1 1/4″. My idea is to mount them to just shine on the ground around the bottom edge of the box. They are cheap and waterproof, can be found here.

LED Marker light

So the first step is to drill a hole, A step bit was used to do this.

3/4″ hole in the bottom flange

The lights work by removing the rubber, slipping that into the hole, then slipping the light into that. Its pretty secure in there actually.

Light in place

Then  the wiring. I had run a circuit to the passenger side tool box area when I was wiring the truck. I figured it would be handy for something in the future to have power out there. I used a light up push button switch, and an old antenna mount to hold it. It had to be spaced away from the corner a bit to clear the door for the propane access.

Switch in the tool box.

And the final result! Its awesome! Just a nice little bit of light around the truck. The camera makes it look a little brighter than it is, its just a subtle bit of light.

Puddle lights!