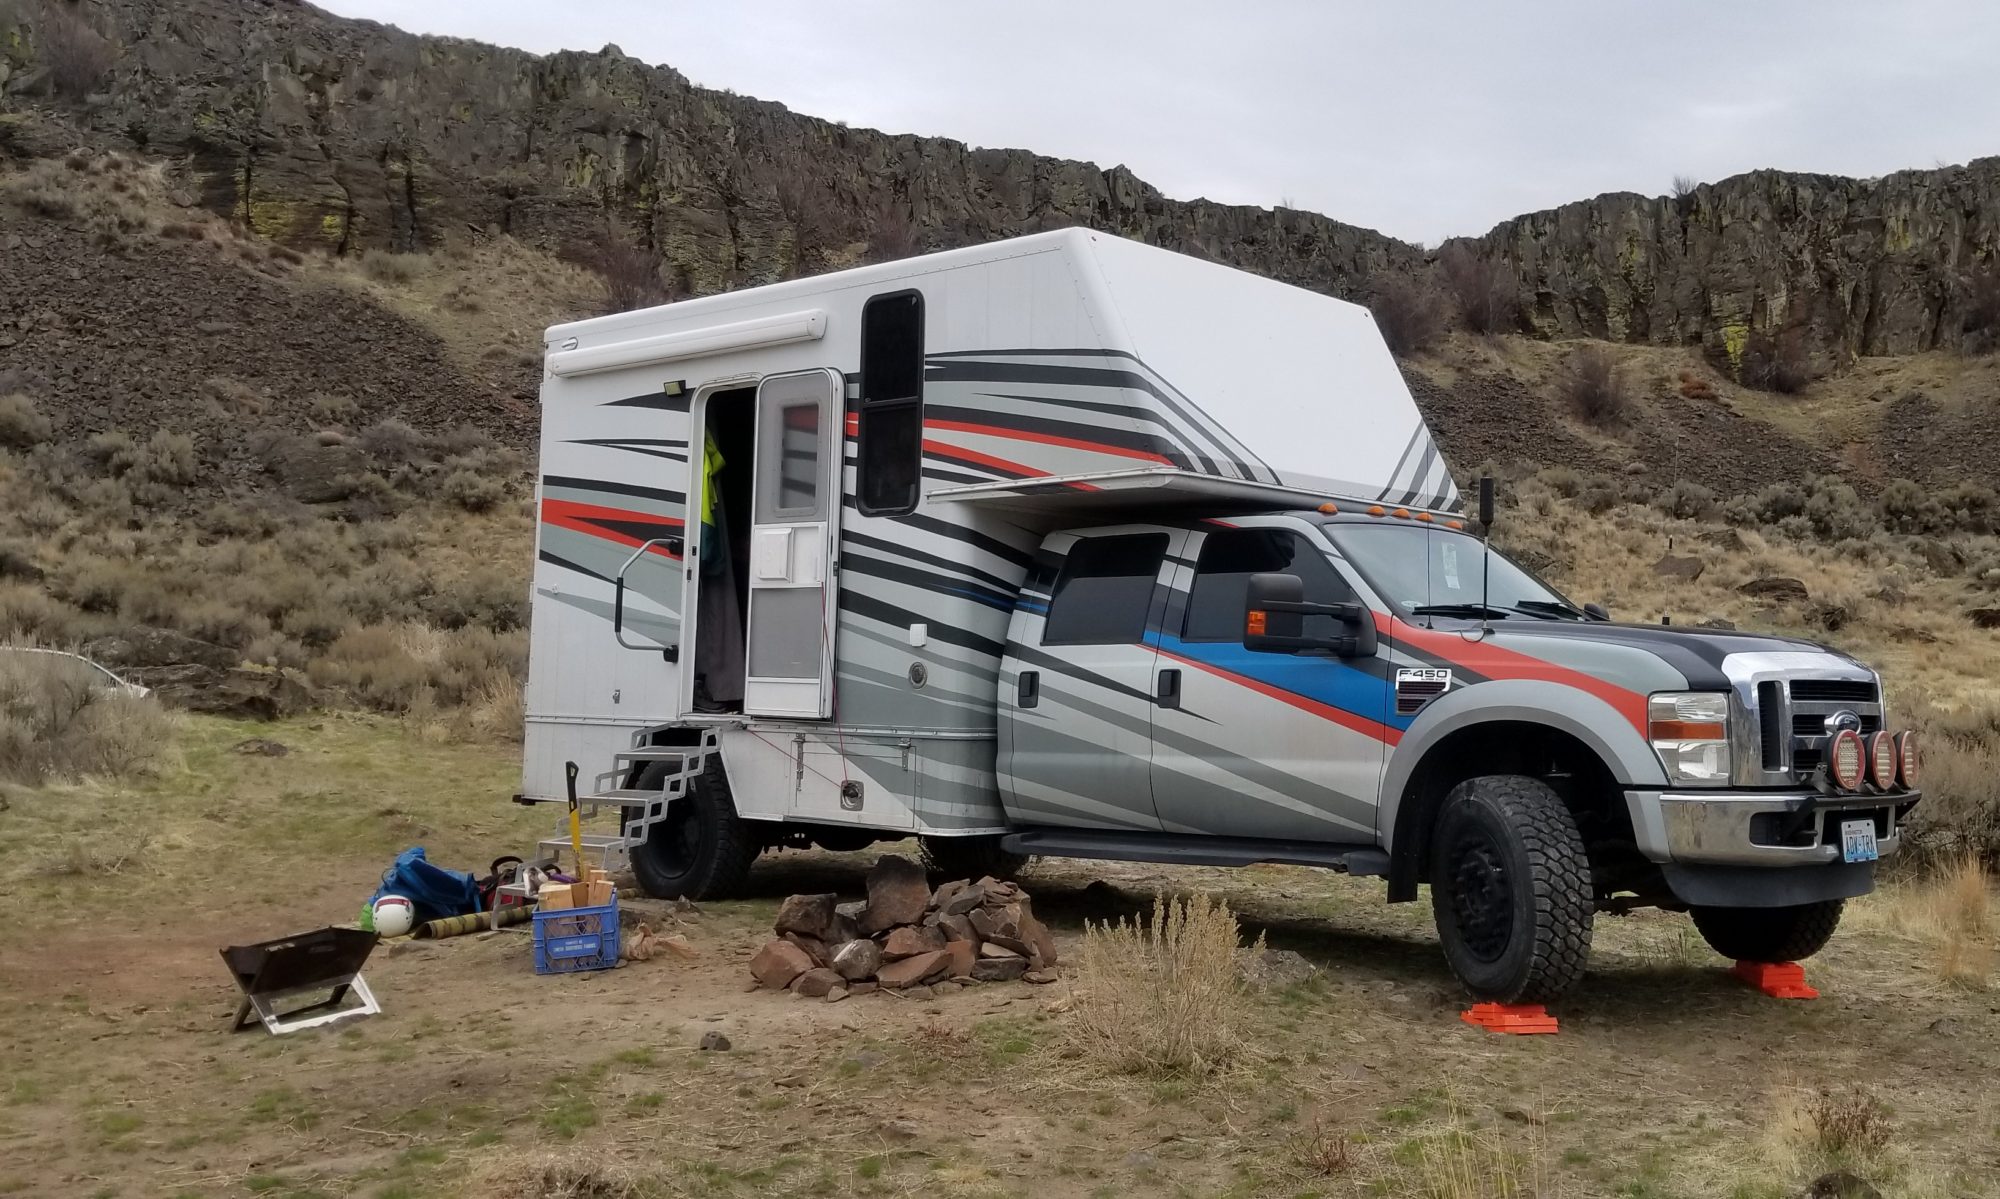
With the Bed done now, we just need a couple more things to make it “usable”, electrical, kitchen counter, and heat (its winter….) so we had a goal of going skiing in about a week, time to thrash and get it ready.
I started with the batteries. We are doing a big bank, 500Ah, its four 250Ah 6 volt AGM batteries, two pairs in series gives us a 12 volt bank. They are heavy, like 100lbs each heavy, so I hefted them all into the truck and worked on layout. They are going in the corner under the bed.

Wired in series, then parallel to get 12v.

They are set on a sheet of high density foam, this should help keep them a little warmer in the winter, and are secured with heavy ratchet straps and stainless anchors. I also added a lit around them so they cant shift in case of a strap breaking.
All the main circuits run back to this spot. There are a lot of them…. I will be using a Blue Sea 12 circuit fuse block with a ground bus. This all gets mounted to a removable shelf above the batteries. Again the heat shrink self adhesive connectors were used. A spare wire was run over to the kitchen side, I wanted something there in case I ever needed it.

Next I mounted the battery combiner, this is a 600 amp continuous unit from Heart Interface, I bought it used and its a very simple solenoid. Once the starting batteries have reached their set voltage (adjustable) it will connect the house batteries so the alternators (yes two on this truck) can change the house batteries. Once the truck is shut off it will disconnect them again so we don’t drain the starting batteries. The inverter/charger is the white box. I may have gone a little undersized, but hopefully it will work, its 1250W at 120V and charges at 55 amps.

The the battery side of things done I needed to get the kitchen cabinet face made as most of the switches live there. I made face frame out of maple scraps I had, and then a plywood side panel finishes it off. Getting all the dimensions right took me some time. I made the face frame five times…

You can see the switch location on the right here, its just inside the door and easy to reach from inside or it can just be reach from the ground outside too.

Switch wires were tucked as tight as possible to the side, as the fridge slides into this spot. There are three switches, one for the exterior light, one for the hall and one for the work lights. There is also two USB plugs and a voltage meter on the same panel.

Electrical works enough, I simply connect it back to my car battery charger when we get home. I will need to finish running a larger 2/0 cable all the way to the engine compartment at some point…
Next up heat.
